How to Export Figma Images as WebP & AVIF in 2026 (Step by Step Guide)
TL;DR
- Figma does not support WebP or AVIF export natively; you can only export PNG, JPG, SVG, or PDF from the default export panel
- The fastest fix is a Figma plugin called PixelLift, which adds WebP and AVIF export directly inside Figma
- WebP files are typically 25% to 35% smaller than PNG at the same quality; AVIF goes even further at up to 50% smaller
- PixelLift also handles bulk export, AI-powered file renaming, and background removal in the same workflow
- You can start for free & pricing plans starts at just $9/mo
Here is something that trips up a lot of designers and developers the first time.
You finish your design in Figma. You hit Export. You get a PNG. You need a WebP. The export panel has no WebP option. There is no AVIF option either.
You start Googling workarounds; drag into Squoosh, convert on TinyPNG, repeat for every asset, rename the files, upload them.
It works. But it takes forever. And if you have 20 assets, it is 20 times the pain.

This post covers why Figma does not support WebP natively, what the workaround looks like today, and the fastest way to export your Figma images as WebP or AVIF without leaving the editor.
Why Figma Does Not Export WebP Natively?
Figma's export panel supports four formats: PNG, JPG, SVG, and PDF.
WebP and AVIF are not in that list. They have not been for years, despite being the two formats that matter most for web performance in 2026.
WebP was introduced by Google in 2010. AVIF became widely supported across modern browsers by 2023. Both formats deliver significantly smaller file sizes compared to PNG and JPG with no visible quality loss. Both are now the recommended formats by Google's Core Web Vitals guidelines for web images.
But Figma's export panel has not caught up.
The result: designers finish work in Figma, then run every asset through a separate converter before handing it off or uploading it to a site. It is an extra step that adds up fast on large projects.
What WebP and AVIF Actually Do for Your Site?
Before getting into the how, here is why the format choice matters.
- WebP is Google's open image format. It uses both lossy and lossless compression, supports transparency (unlike JPG), and produces files roughly 25% to 35% smaller than PNG. All modern browsers support it.
- AVIF is the newer format. It is based on the AV1 video codec and offers even better compression — typically 40% to 55% smaller than PNG at comparable quality. It also handles complex gradients and photographic detail better than WebP in most cases.

For a WordPress site or any web project, this difference is not cosmetic. Smaller images mean faster page loads. Faster pages mean better Core Web Vitals scores. Better scores mean better rankings.
The images you export from Figma are production assets. Getting them out in the right format from day one means no re-conversion later.
How to Export Figma Images as WebP: The Workaround Without a Plugin?
If you only need to convert one or two images and you do not want to install anything, here is the manual route.
Option 1: Export as PNG, then convert:
Export the asset from Figma as PNG. Then upload it to a converter like Squoosh (squoosh.app), set the output format to WebP or AVIF, adjust quality, and download.
This works. It is just slow. And for 10 or 20 assets, it becomes a real time sink.
Option 2: Use an online bulk converter:
Sites like CloudConvert or Convertio let you upload multiple PNGs and convert them in a batch. You still have to export from Figma first, upload the files, wait for conversion, download, and rename.
There are two extra round-trips in this workflow;nout of Figma and back.
Every extra step is a place where things go wrong.
The Faster Way: Export WebP Directly from Figma Using PixelLift
This is where the workflow changes.
PixelLift is a Figma plugin that adds WebP and AVIF export directly inside the editor. You do not leave Figma. You do not convert separately. You select your layers, choose your format, and export.
I have been testing it as part of the CoderzStudio toolkit and it removes the biggest friction point in the handoff workflow entirely.
Here is what the process looks like:
Step 1: Install PixelLift from Figma Community
Go to the Figma Community and search for PixelLift, or go directly to pixellift.io and follow the install link. It is a free install; no credit card required to get started.
Once installed, open any Figma file and run the plugin from the Plugins menu.
Step 2: Select Your Layers
Select a frame, a group, or an entire page. PixelLift scans the layer tree automatically and identifies every exportable image inside your selection; including deeply nested layers.
You do not need to manually tag each asset. It finds them.
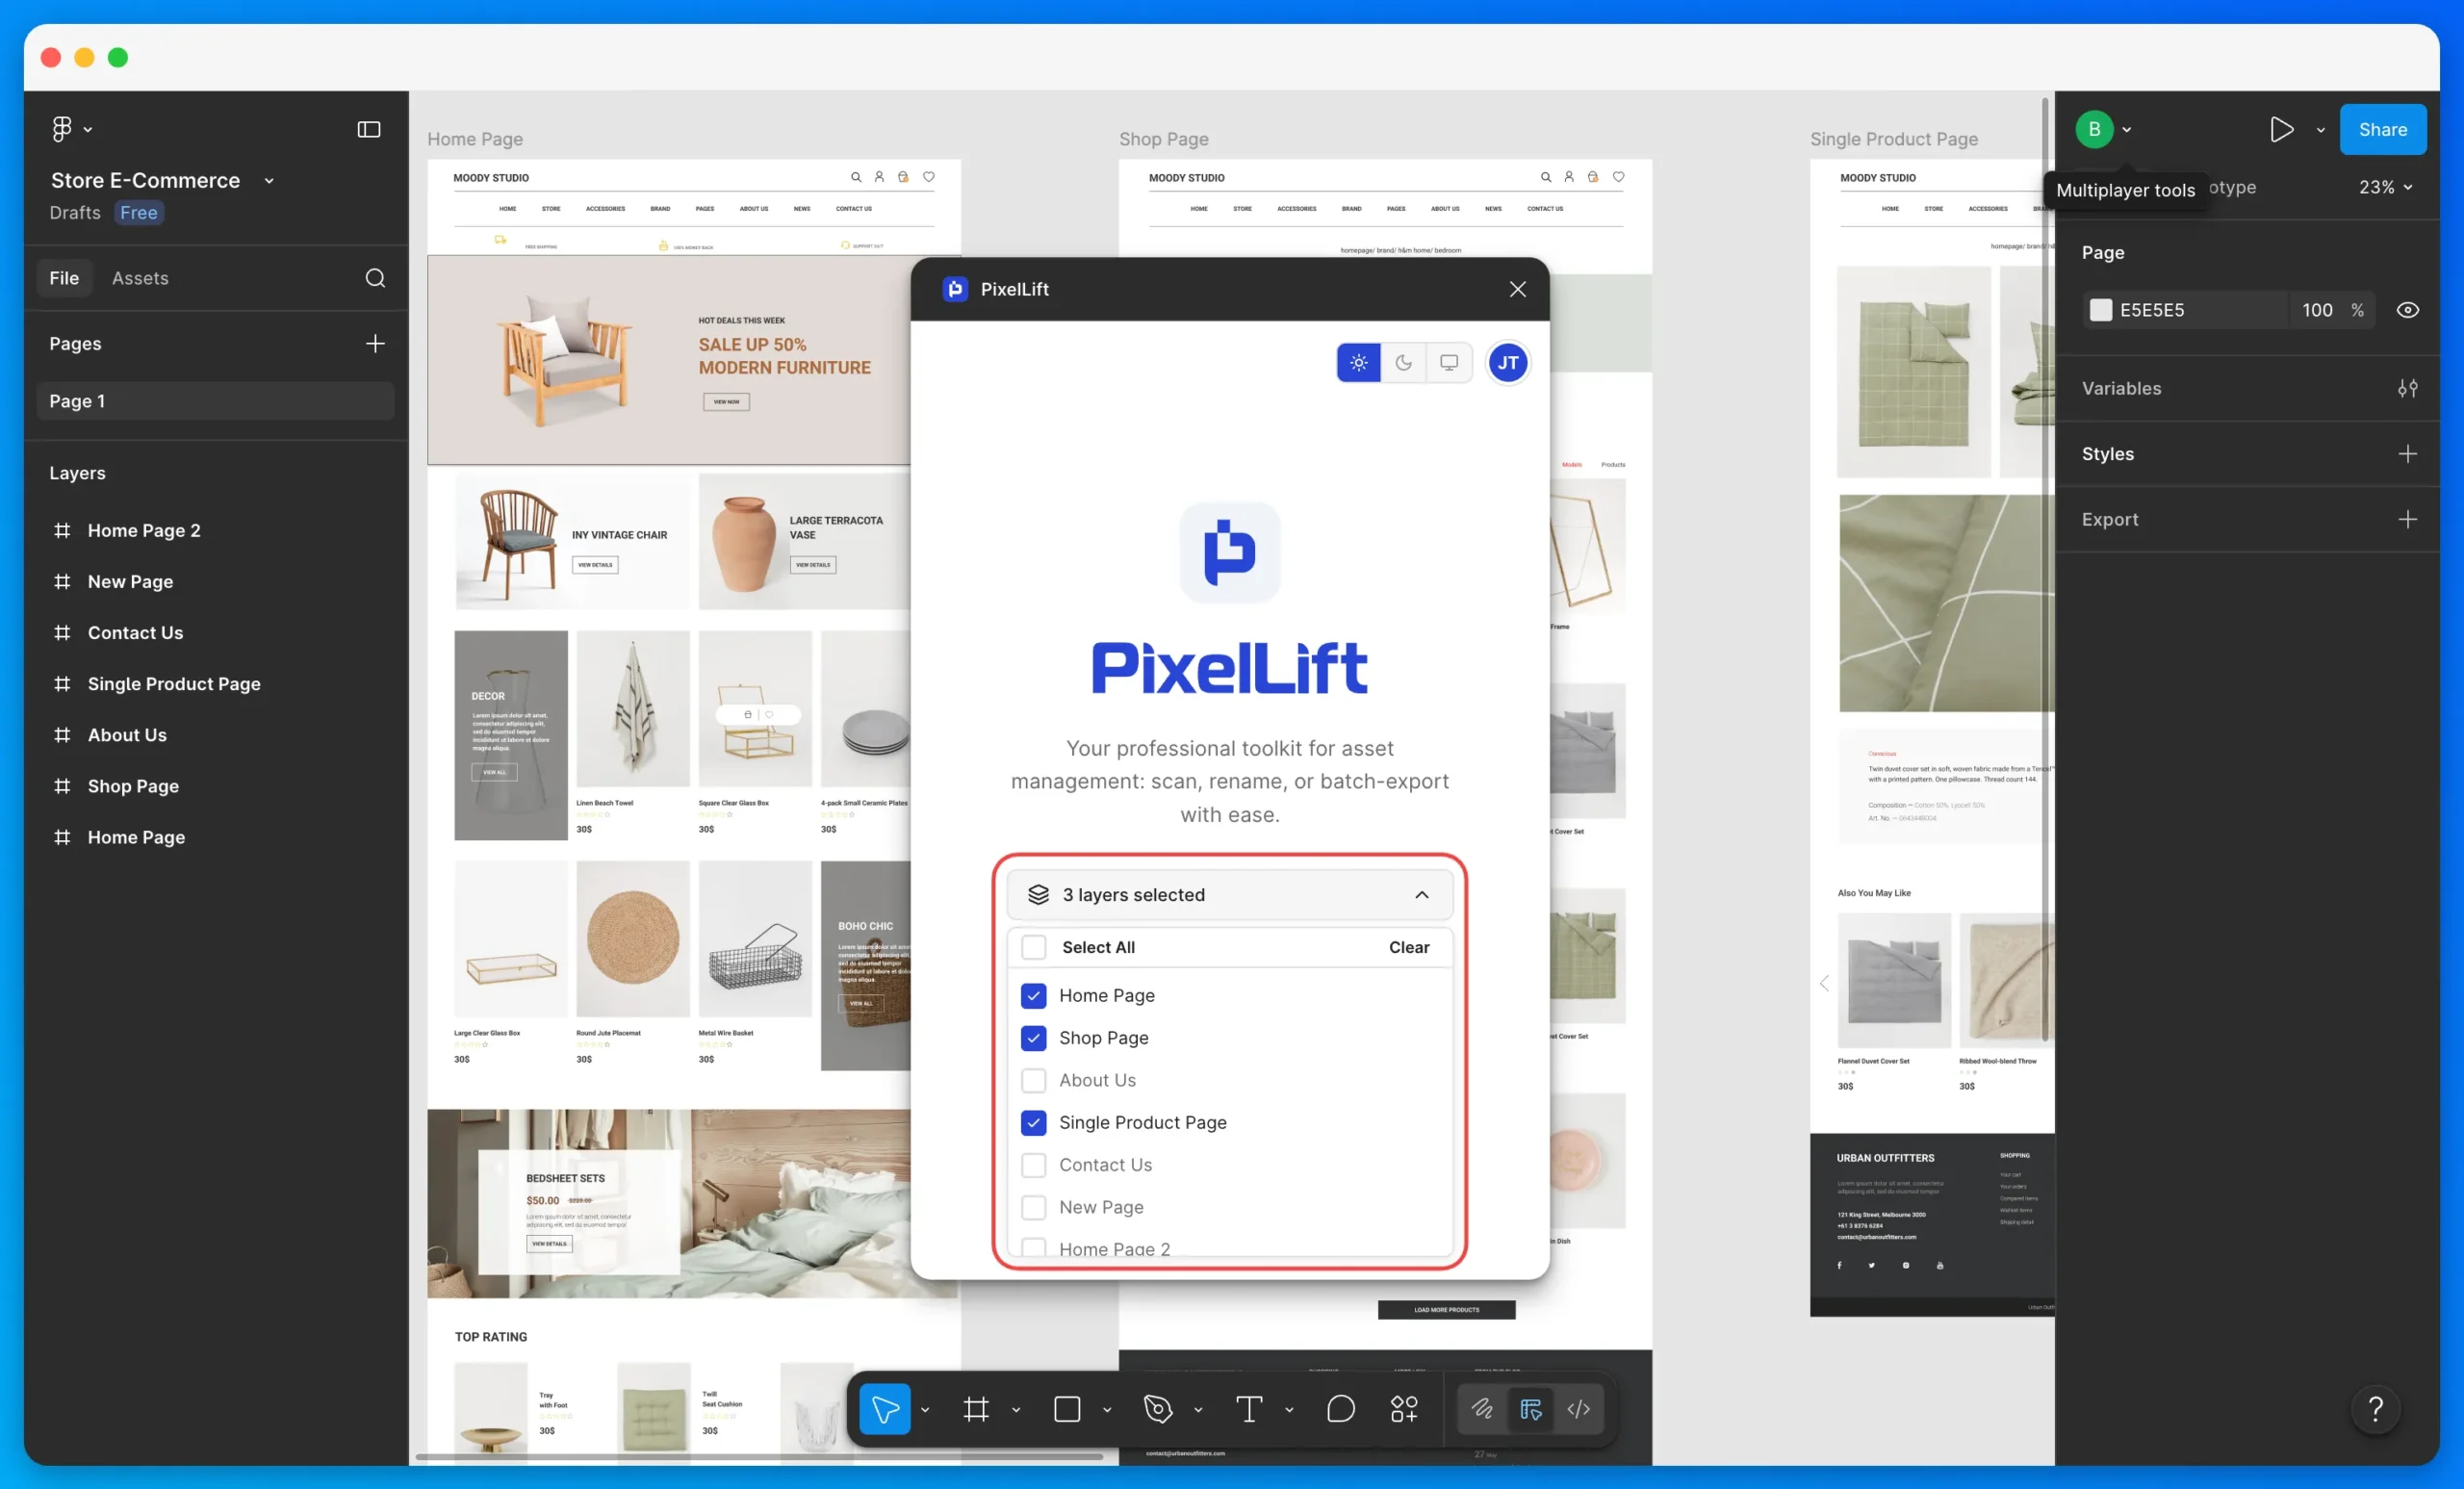
Step 3: Choose WebP or AVIF as the Format
At the top of the plugin panel, you will see a format dropdown. Set it to WebP or AVIF.
You can also set the format per image individually if you need a mix: some assets as WebP, some as SVG, some as PNG; all in the same export run.

Step 4: Export
Click export. PixelLift processes all the assets, compresses them, and delivers them as a ZIP download. No separate converter. No extra tool.

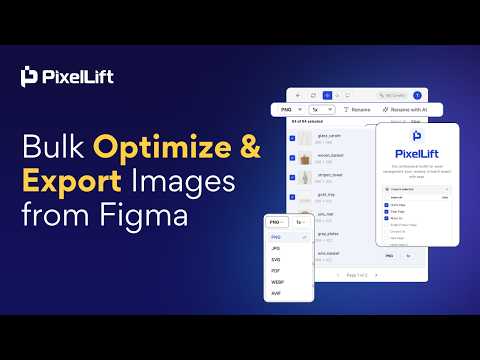
Here's a video guide that explains the entire workflow…
What Else PixelLift Does (Beyond the Format)
WebP export is the entry point. But the plugin solves a few other friction points in the same workflow.
- Bulk export. You can select 50 or more layers and export everything in one action. PixelLift tracks every nested layer, so nothing gets missed even in complex file structures.
- AI-powered renaming. Figma file names are notoriously bad. “Frame 427”, “Group 12 copy”, “Rectangle 89”. PixelLift's AI looks at the actual image content and suggests a proper file name — “hero-dashboard”, “icon-sync-arrow”, “card-pricing-bg”. Clean names, ready for your repo, without manually renaming each file.
- Background removal. If you need clean cutouts on export, PixelLift handles that too; right on export, no extra tool needed (this one is an upcoming feature)
- Send to your server or CDN. Beyond the ZIP download, you can push assets directly to a server or CDN via the API, which is useful for agency workflows with consistent upload destinations (another feature in the pipeline)
WebP vs AVIF: Which Should You Export From Figma?
Both are good choices for web. Here is how to decide.
Use WebP if:
- You need maximum browser compatibility (WebP works in all browsers since 2020)
- You are replacing PNG or JPG across a general web project
- You need transparency with a smaller file size than PNG
Use AVIF if:
- You are targeting modern browsers (Chrome, Firefox, Safari 16+)
- You are working with photographic images or complex gradients
- You want the best possible compression ratios for performance-critical pages
For most web projects in 2026, AVIF is the right default. Browser support is solid, and the file size gains over WebP are meaningful enough to matter on image-heavy pages.
If you are unsure, use PixelLift to export the same asset in both formats, compare the sizes, and decide per image.
Key Takeaways
- Figma does not support WebP or AVIF export natively: PNG, JPG, SVG, and PDF are the only native options
- The fastest way to export Figma images as WebP is to use the PixelLift plugin, which adds modern format support directly inside Figma
- WebP reduces file sizes by roughly 25% to 35% compared to PNG; AVIF goes further at up to 55% smaller
- PixelLift also handles bulk export, AI file renaming, and background removal in the same workflow
- AVIF is the better default for most 2026 web projects; WebP is the safer choice if you need broader compatibility
- PixelLift is free to install with no credit card required & pro plans start at just $9/mo.
FAQs
What is the best Figma plugin to export WebP?
PixelLift is purpose-built for this. It supports WebP, AVIF, PNG, JPG, SVG, and PDF in the same export run. It also handles bulk export, compression, and file renaming; which covers the full handoff workflow, not just the format conversion.
How do I bulk export Figma images as WebP?
With PixelLift, select multiple frames or layers, set the format to WebP in the plugin panel, and click export. All assets are processed and delivered in a single ZIP. You can export 50 or more assets in one run.
Does converting to WebP in PixelLift reduce image quality?
No visible quality loss at the default compression settings. WebP and AVIF use perceptual compression; the human eye cannot distinguish the difference at standard quality levels. You can also manually control the quality setting per export if you need to fine-tune for specific use cases.
Is PixelLift free to use?
Yes. PixelLift is free to install from Figma Community. The free plan includes export credits to evaluate the plugin on a real project. Paid plans start at $9/month for ongoing use with bulk exports and AI renaming.
Final Thoughts
The Figma export panel is fine for PNG. It was never built for modern web delivery.
If you are handing off assets to a developer or uploading directly to a WordPress site, getting images out in WebP or AVIF from the start saves time at every point downstream.
No re-conversion. No manually renamed files. No size issues after upload.
PixelLift is the most direct path from Figma layer to production-ready image I have found. If you export assets regularly from Figma, it is worth installing and running on your next project.

About the Author
Kuldeep Rathore is a WordPress & Elementor expert and co-founder of 60Pixel. With 3+ years of hands-on experience, he builds fast, SEO-optimized websites for creators and small businesses. Through this blog, he shares practical tutorials and tips trusted by the WordPress community worldwide.